
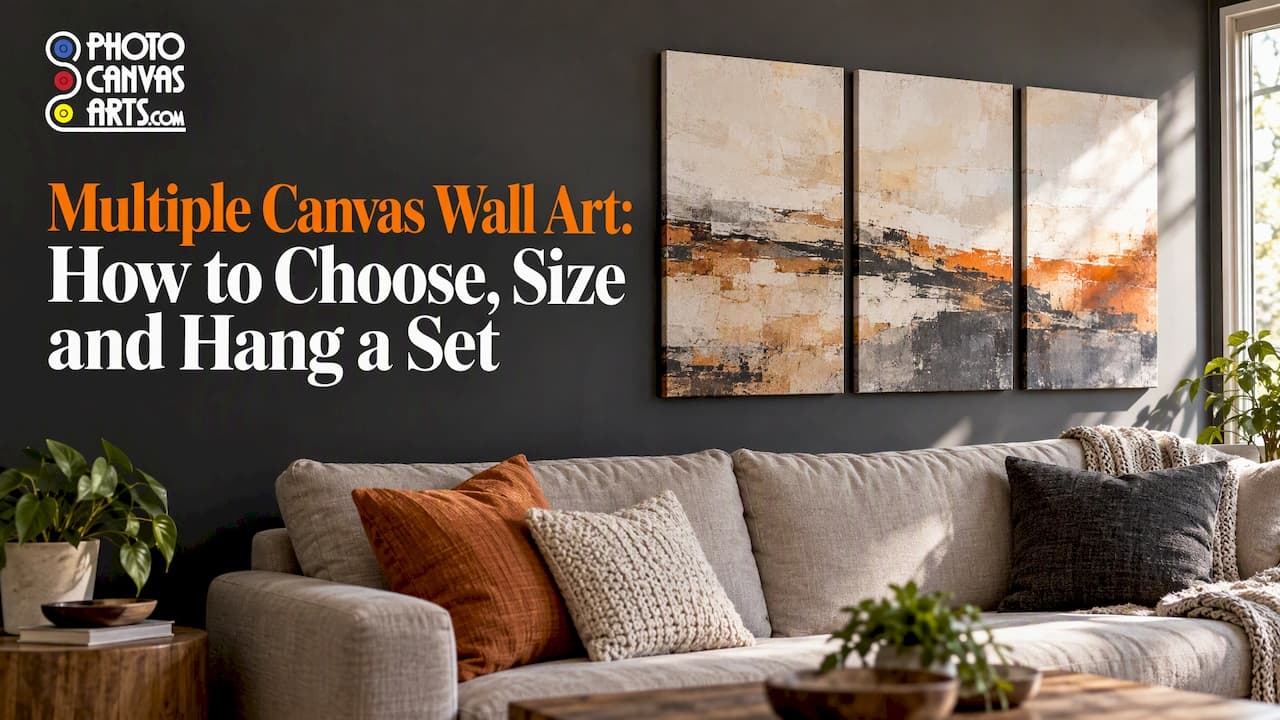
Multiple canvas wall art works when the panels read as one piece: a panel count that fits the wall, consistent gaps, and a center at a sensible height. Get those three things right and a set of two, three or five canvases looks designed rather than scattered. Below you'll find how to choose the number of panels, which images suit a split, how to size and space the set, and how to hang it evenly. You'll also find what to decide before you order custom canvases.
TL;DR
- Pick the panel count from the wall and the furniture under it: three suits a sofa or bed, while five or more suit a wider wall.
- Leave a small, even gap between panels. Designers quoted below suggest roughly 1.5 to 6 inches depending on the layout.
- Hang the center of the whole group around 57 to 60 inches from the floor, and treat the group as one big picture.
- Trace each panel on paper, tape the templates up, and adjust before you put a single nail in the wall.
- Choose images with strong shapes and clear lines, so each panel stands on its own and the set still reads as one image.
Table of Contents
- What multiple canvas wall art actually is
- How many panels should you use?
- Choosing images that survive being split
- Layouts that suit different walls and rooms
- Sizing the set and spacing the gaps
- Hanging multiple canvases evenly
- Our perspective
- Ordering a custom set from Photocanvas
- Common mistakes to avoid
- FAQ
- Sources
What multiple canvas wall art actually is
Multi-panel wall art is one image, or one coordinated idea, spread across several separate canvases. The terms come from art history. Tate defines a diptych as an artwork of two panels that may be attached together or shown side by side, and a triptych as the three-panel version, panels attached or displayed adjoining one another.
Decor guides extend the vocabulary: a quadriptych has four panels and a polyptych five or more. You don't need the jargon to shop, but it helps to know that "3 piece canvas" and "triptych" are the same idea.
There are two broad ways to build a set:
- One image split across panels. A single photo or artwork continues from canvas to canvas, like a panorama. This is the classic triptych look.
- A series of related images. Each canvas holds its own picture, tied together by color, subject or style. Think of a family's three favorite beach photos, or four botanical illustrations in the same palette.
The split approach feels dramatic and modern. The series approach is more forgiving, because you can add a panel later and nothing breaks.
How many panels should you use?
There is no required number. Multi-panel art can use two, three, four, five or more panels, and the choice should complement the wall's size and shape. The same source notes that triptychs suit sofas or beds, while five-panel pieces suit wider walls. Even for gallery walls, Better Homes & Gardens says there is no fixed number, though groupings of 3, 9 or 12 are popular.
A practical way to decide:
- Two panels suit a narrow stretch of wall, the space beside a door, or a small bedroom. They feel calm and balanced.
- Three panels are the safest choice. They work over a sofa, a bed, a console or a desk, and they handle both split images and series.
- Four panels work as a row on a long wall or as a 2×2 grid on a squarer one.
- Five or more need real wall space. Use them above a long sectional, in a stairwell or across a dining room wall.
If you are unsure, go one panel smaller than your instinct. A tight, well-proportioned three-piece set beats a crowded five-piece one.
Choosing images that survive being split
Not every photo divides well. A portrait with a face on the seam will look awkward in any arrangement. Photographer Marty Knapp, writing about divided-image triptychs, argues that each panel should have its own interesting compositional elements while the three together form a broader panoramic view. That is a photographer's opinion, but it's a useful test: cover two panels with your hands and ask whether the third is still worth looking at.
Images that usually split well:
- Landscapes, seascapes and skylines with a long horizon
- Architecture with repeating lines
- Abstract art and watercolors, where there is no single focal point to cut through
- Forest, field or flower scenes with texture across the whole frame
Images that need care:
- Group portraits, because faces and hands can land on the gaps
- Photos with one small subject in the center, which will vanish into the middle panel
- Low-resolution files, since each panel is enlarged along with the whole
For families, a series often beats a split. Three portraits taken on the same day, or one portrait with two detail shots of hands and a location, tell a story without risking a face on a seam. If you're printing artwork you made, our guide to watercolor art prints covers file preparation and color before you order.
Before ordering, check the original file's pixel dimensions against the largest panel size you want. A sharp phone photo is usually fine for a medium set. A cropped or heavily compressed image is not.
Layouts that suit different walls and rooms
The wall shape should drive the layout. Long, narrow walls suit linear three- or four-panel arrangements, while larger, squarer walls can take a 2×2 grid or a scattered layout. The same guide notes that horizontal arrangements can make a room feel wider and vertical ones draw the eye upward.
Row of equal panels
The most common layout and the easiest to hang. Equal sizes, equal gaps, one straight line. It suits sofas, beds, headboards and dining rooms.
Graduated or center-heavy sets
A large center canvas flanked by two smaller ones adds rhythm. Keep the tops or the vertical centers aligned, and pick one rule and stick to it. It works well for a split panorama, because the main subject sits in the big middle panel.
Vertical stack
Designers quoted by The Spruce say three frames can be arranged in a vertical stack or a horizontal row. Stacks suit tall, narrow spaces: beside a window, in a stairwell or in a hallway. If that's your situation, our entryway wall art guide goes deeper on sizes and hanging for those spaces.
2×2 grid
Four equal canvases in a square block feel graphic and tidy. They suit an image with symmetry or a set of four related pictures, and they fit squarer walls such as the one above a fireplace.
Scattered or salon style
Mixed sizes on a wall, with a shared palette. This takes the most planning and the most patience with paper templates, but it handles awkward walls well. It also fits a kids' space where you will add pieces over time. See our playroom wall art ideas for sets that can grow.
Sizing the set and spacing the gaps
Treat the group as one object. The Spruce advises treating a grouped display as one large picture when relating it to furniture, and designers it cites suggest artwork commonly spans 50 to 75 percent of the furniture's width. So over a 84-inch sofa, aim for a finished group roughly 42 to 63 inches wide, gaps included.
For gaps, the guidance varies by layout:
| Situation | Suggested gap | Source |
|---|---|---|
| Triangular three-piece arrangement | 1.5 to 3 inches | The Spruce, citing designer Sara Hillery |
| Artwork groupings on a large wall | About 3 to 6 inches | Better Homes & Gardens |
A split image looks best with a tighter gap, because the eye needs to bridge the break. A series of separate pictures can handle a wider gap. Whatever you choose, keep it identical between every pair.
A worked example: you have a 96-inch wall with a 84-inch sofa. Three canvases at 16 by 24 inches each, with 3-inch gaps, make a group 54 inches wide, which is about 64 percent of the sofa. That sits inside the suggested range and leaves breathing room on both sides.

Height on the wall
Better Homes & Gardens recommends a center about 57 to 60 inches above the floor, and about 8 to 10 inches above a sofa. The Spruce gives 6 to 12 inches above a sofa back or tabletop and calls 57 inches a baseline rather than an absolute rule, so furniture and room use can override it. Apartment Therapy, citing Aslee Livingston, suggests about 60 inches to the art center in sitting rooms and 65 inches in standing rooms such as kitchens, hallways and entries.
In short: above furniture, let the furniture set the bottom edge. On an open wall, aim for the center of the whole group near eye level for how people use the room.
Hanging multiple canvases evenly
Measuring once is not enough. Most crooked sets come from skipping the template step.
- Lay the set on the floor. The Spruce suggests laying the pieces on the floor first. Use a tape measure to set your gap, and photograph the layout.
- Make paper templates. Better Homes & Gardens recommends kraft-paper tracings and painter's tape before drilling. Apartment Therapy likewise suggests taping paper templates to the wall and marking the hardware locations on each one.
- Step back. Check balance of color, size and finish from across the room. Move the templates, not the nails.
- Mark and install. Put hooks or nails through the marked spots, using a ruler for equal spacing and a level on every panel, per the same Better Homes & Gardens steps.
- Match hardware to weight. For heavier pieces, use studs or drywall anchors. Adhesive strips or nails are for lighter pieces, according to Better Homes & Gardens.
- Hang the center first. Start with the middle canvas, then work outward so any small error stays symmetrical.
A tip from experience with canvas: check the back of each panel for the hanging hardware position before you mark the wall. The hook point on a canvas is rarely at the exact top edge, so measure from the template mark, not the canvas edge.
Our perspective
Most people who order a set of canvases worry about the picture and forget the wall. We see it the other way around too: a great photo on the wrong panel size looks ordinary, and a good photo on the right ones looks expensive. Our advice is to decide the finished footprint first, then work back to panel sizes.
We also think edges deserve more thought than they get. A gallery-wrap canvas has depth and casts a shadow, which suits a bold, modern set. A slim-profile canvas sits flatter, which suits tight gaps and a gallery feel. Whichever you choose, keep every panel in the set on the same edge style, or the group will look like it was assembled from leftovers.
And preview before you commit. Seeing your crop on screen, panel by panel, catches the face on the seam and the horizon that drops by half an inch. A set only works when the viewer stops noticing where one canvas ends.
— Diego
Ordering a custom set from Photocanvas
When the layout is decided, the ordering part is simple. At Photocanvas you upload your image, choose the size, finish and edge style, and check the result in a live preview before checkout. We print on handcrafted canvas, with gallery-wrap or slim-profile options and rolled canvas, and on premium art paper in matte and fine art finishes. Artists and businesses can also prepare orders for resale or tax exemption.

For a set, pick one size and edge style for the whole group unless you are deliberately building a graduated layout, and keep the file resolution consistent. If the set is a gift or an office project, our blog has ideas for graduation photo displays that translate well to multi-canvas groupings.
Common mistakes to avoid
- Gaps that drift. Half an inch of difference between pairs shows from across the room. Use a spacer, such as a cut piece of cardboard, at each gap.
- Hanging too high. The classic error. If the group floats far above the sofa, it stops relating to the furniture. Remember the 6 to 12 inch guidance above.
- A set that is too small for the wall. Under about half the width of the furniture and it can look lost.
- Mixing edge styles or finishes. Consistency is what makes separate pieces read as one.
- Ignoring the light. Glare from a window can wash out one panel in a row. Check at the times of day you use the room.
FAQ
How far apart should multi-panel canvases be?
It depends on the layout. A Spruce-cited designer suggests 1.5 to 3 inches for a triangular three-piece arrangement, and Better Homes & Gardens suggests about 3 to 6 inches for groupings on a large wall. Split images look best with the tighter end, and the gap must stay identical throughout.
How high should I hang a set above a sofa?
Place the bottom edge roughly 6 to 12 inches above the sofa back, according to The Spruce, and treat the whole group as one picture. Better Homes & Gardens gives 8 to 10 inches above a sofa and about 57 to 60 inches to the center of a grouping. If the two rules conflict, let the furniture decide.
Is a three-panel set better than five panels?
Neither is better in general. Three panels suit sofas and beds, and five-panel pieces suit wider walls. Pick the count that leaves comfortable space at both ends of the furniture or wall.
Can I split any photo into multiple canvases?
Most landscapes, skylines and abstracts split well, because there is texture or structure in every part. Group portraits and photos with a small central subject are harder, since a seam can land on a face. A series of separate related photos is a safer choice for people.
Do I need to hang the canvases into studs?
Not necessarily. Better Homes & Gardens says heavier pieces should go into studs or be supported with drywall anchors, while adhesive strips or nails can work for lighter ones. Check the weight of each canvas and the hardware's rated load before you choose.
Sources
- Diptych | Tate
- Triptych | Tate
- The Ultimate Guide to Multi Panel Canvas Prints for Home
- Split Image Triptychs: Seeing More in Divided Images
- How to Hang a Gallery Wall in 5 Easy Steps | Better Homes & Gardens
- 7 Ideas for How to Decorate a Large Wall | Better Homes & Gardens
- How to Arrange Three Photo Frames on a Wall | The Spruce
- How High to Hang Pictures: Design Expert Rules | The Spruce
- The Sitting/Standing Rule for Hanging Art | Apartment Therapy
- How to Lay Out a Gallery Wall | Apartment Therapy